
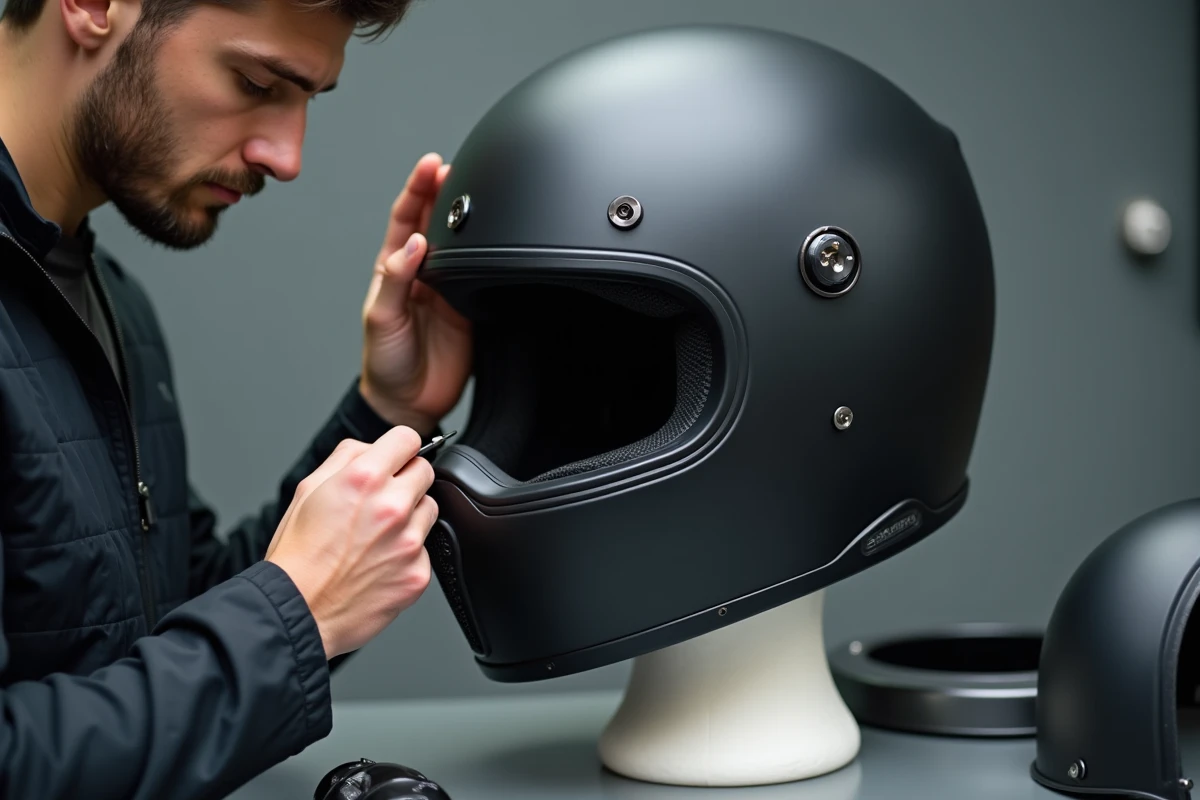
A new motorcycle helmet that compresses the temples or leaves marks on the forehead after an hour of riding is a situation we all know. The reflex might be to move up to the next size, but a helmet that is too loose poses a safety issue far more serious than localized pressure. Before purchasing a new model, several targeted interventions can provide the missing comfort without sacrificing protection.
Here are ten concrete techniques to make a too-tight motorcycle helmet more comfortable.
Read also : How to Make International Calls to the UK: Tips and Advice
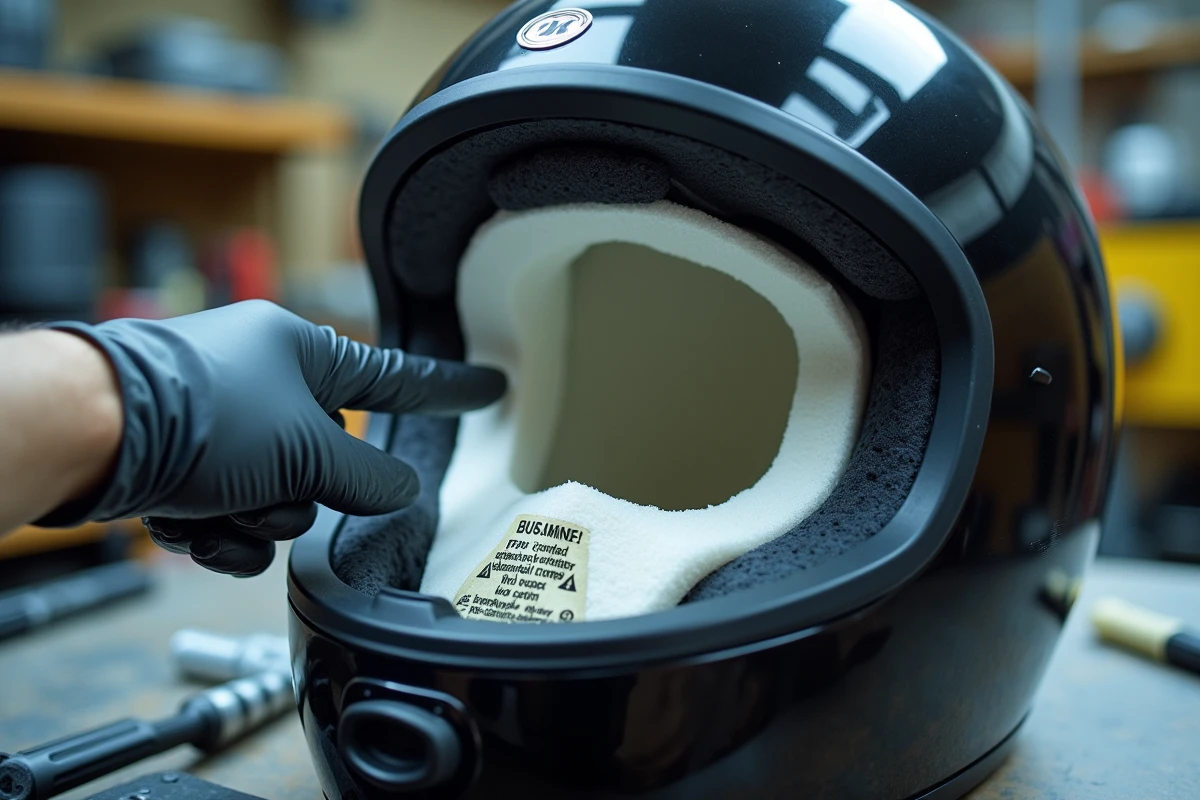
1. Replace the cheek pads with thinner ones
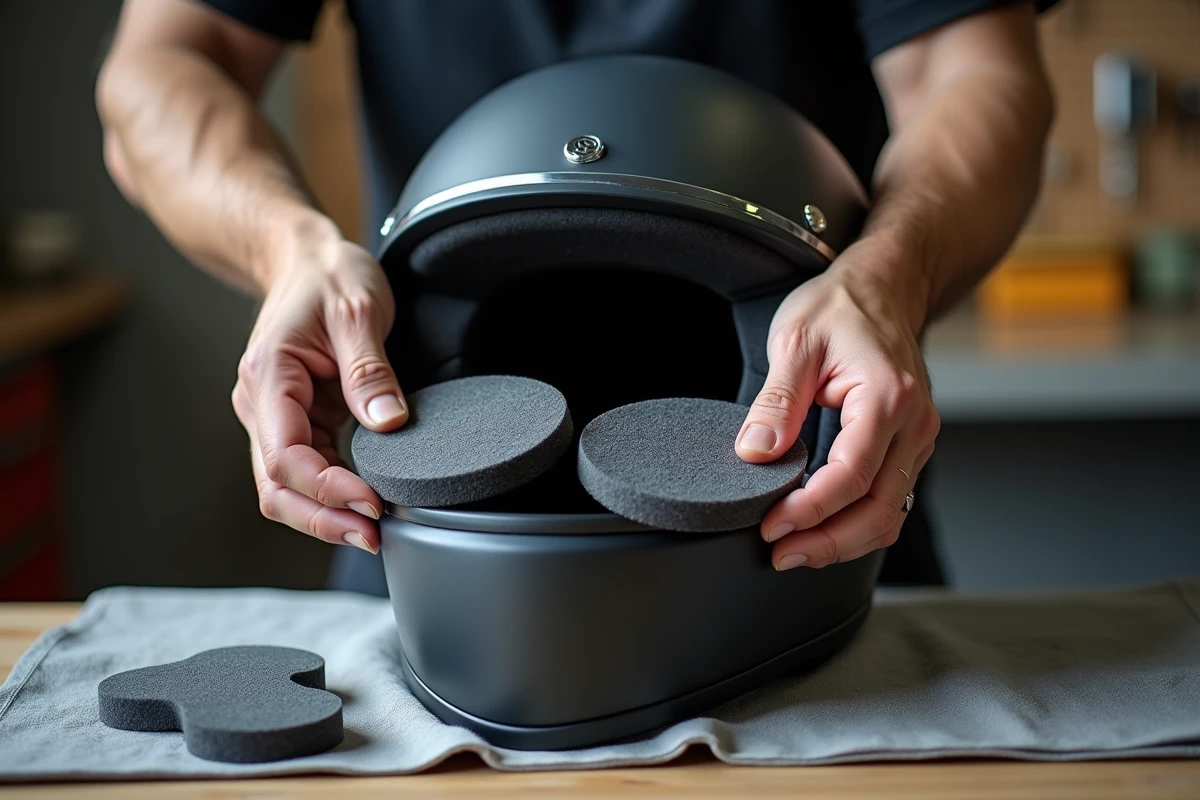
When the pressure is concentrated on the cheeks, the most direct solution is to order thinner cheek pads from the manufacturer. Shoei, Arai, HJC, and Nolan offer alternative thickness pads sold separately for their recent models, specifically to address this type of problem.
Related reading : How to Charge a Doro Phone: Practical Tips to Optimize Battery Life
Remove the original pads (they unclip on most full-face and modular helmets), install the pair of thinner pads, and the comfort gain is immediate. This manipulation does not alter the shell or the EPS liner, so the helmet’s certification remains intact.
2. Change the internal liner to adjust the head circumference
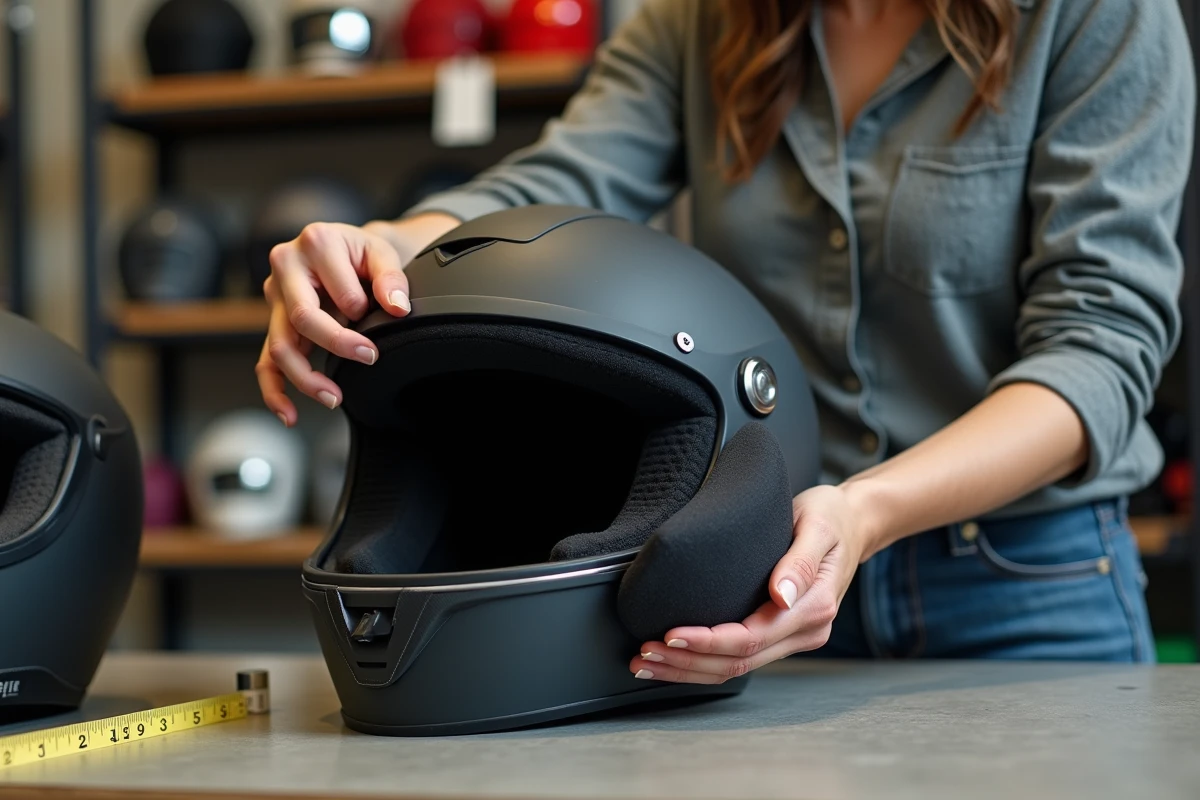
If the pressure comes from the top of the head or forehead rather than the cheeks, the internal liner is what needs to be targeted. Again, several manufacturers list liners of varying thicknesses in their spare parts catalogs.
You can easily find tips for increasing the comfort of a too-tight motorcycle helmet by combining a thinner liner with the original cheek pads. This modular approach allows for pressure adjustment zone by zone, which is much more precise than a simple size change.
3. Wear the helmet in progressive sessions to speed up the break-in
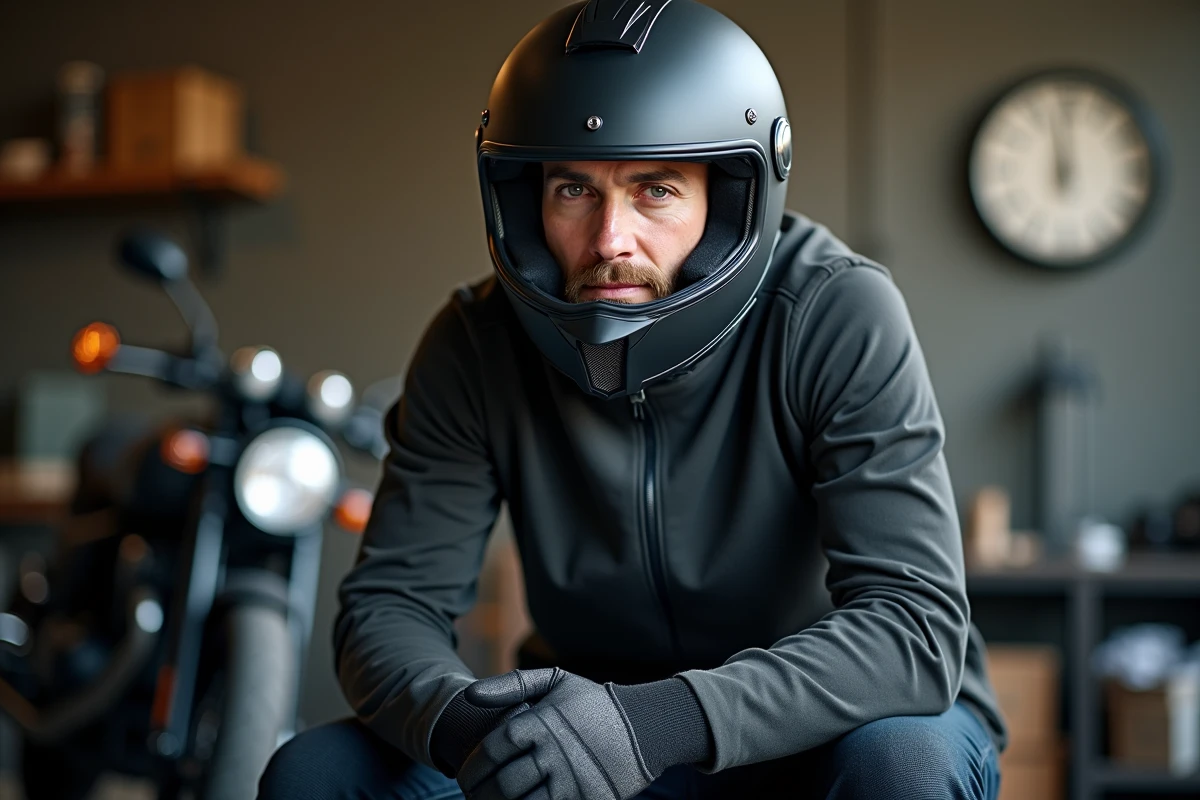
The inner pads of a new helmet naturally compress over time. Wearing the helmet at home for twenty to thirty minutes at a time, several days in a row, speeds up this break-in without experiencing discomfort on the road.
A slightly tight helmet upon purchase will become comfortable after a few weeks of regular wear. Feedback varies on this point depending on brands and foam densities, but the principle remains reliable for moderate tightness.
4. Use an inflatable balloon to pre-shape the pads
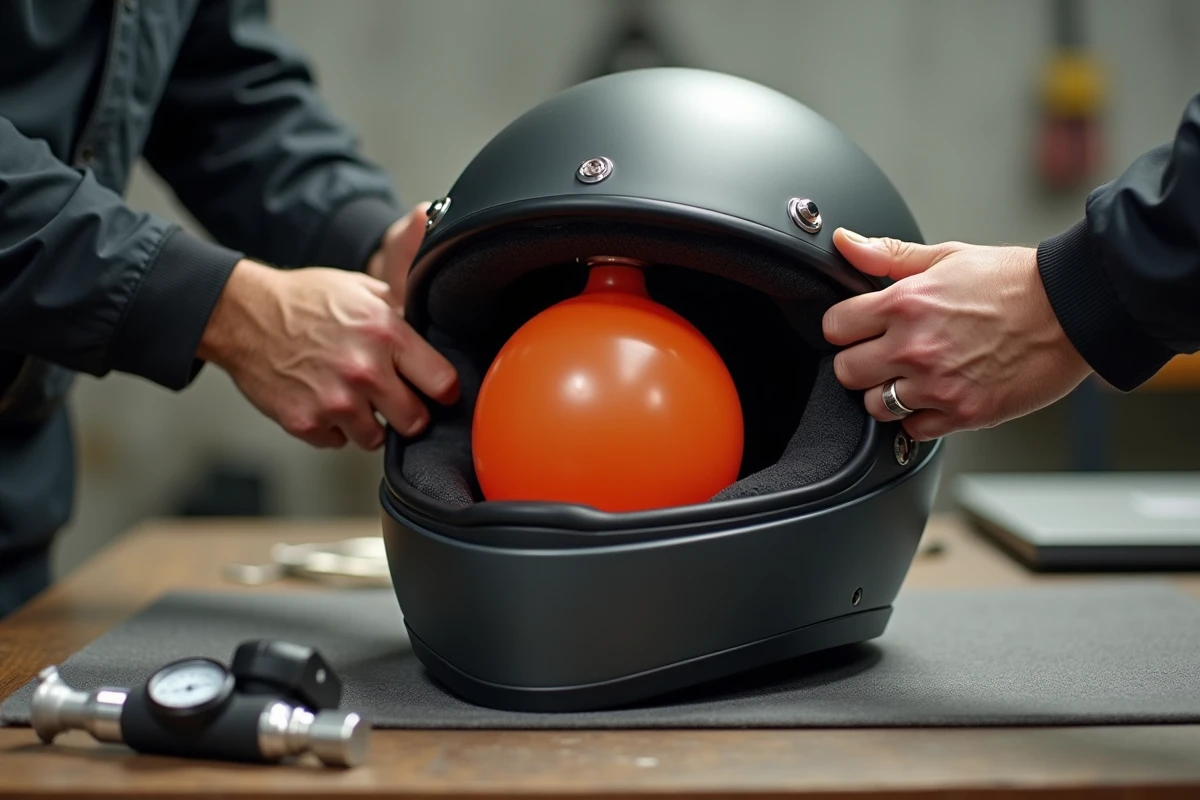
Insert a balloon (like a football or thick balloon) inside the helmet, inflate it gradually until it exerts firm pressure on the pads, then leave it in place overnight.
This technique accelerates the mechanical compression of the pads without altering the shell structure. The result depends on the density of the original foam, but with a new helmet, you gain noticeable comfort from the first session.
5. Opt for 3D-printed foam inserts
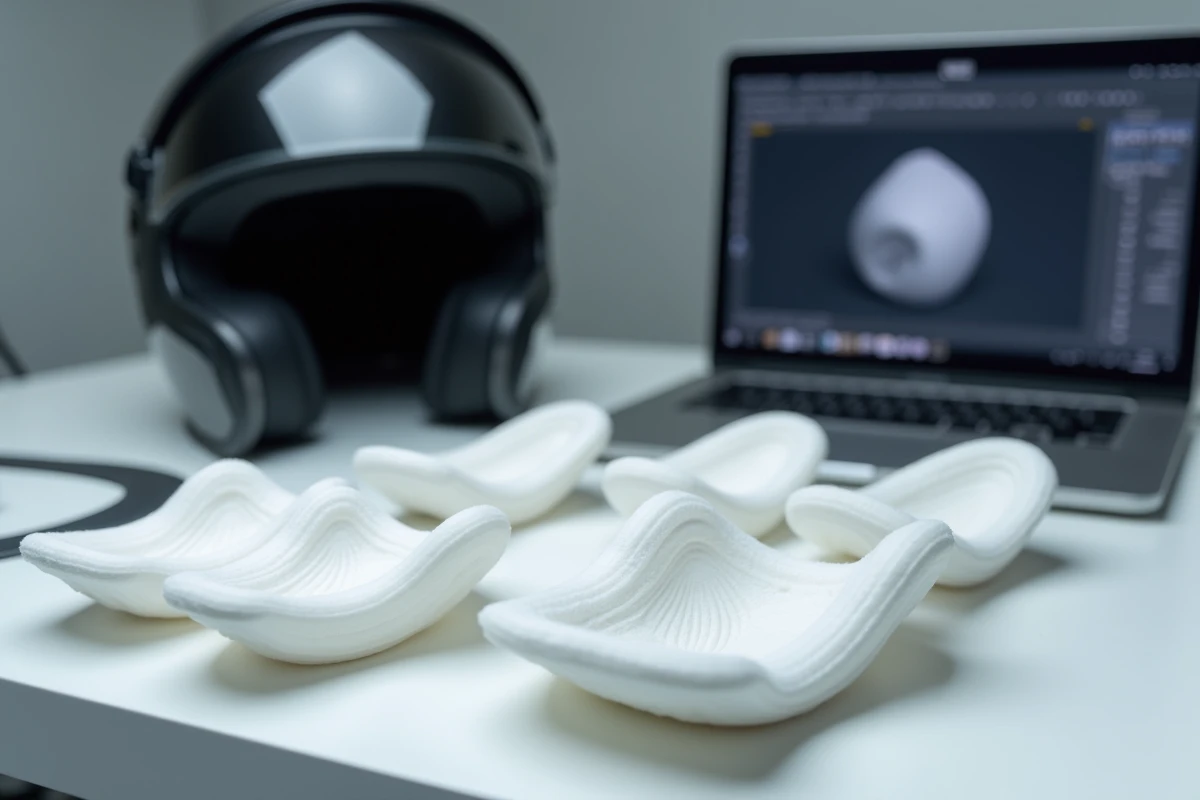
Custom fit liners printed in 3D are gradually entering the consumer market. The principle: scan the shape of your head, a custom insert replaces the original pads and corrects the tightness without touching the EPS liner.
This solution remains more expensive than simply changing pads, but it offers an adjustment that is impossible to achieve otherwise for atypical shapes (wide and flat skulls, or conversely very oval ones).
6. Adjust or change the chin strap to reduce pressure on the jaw
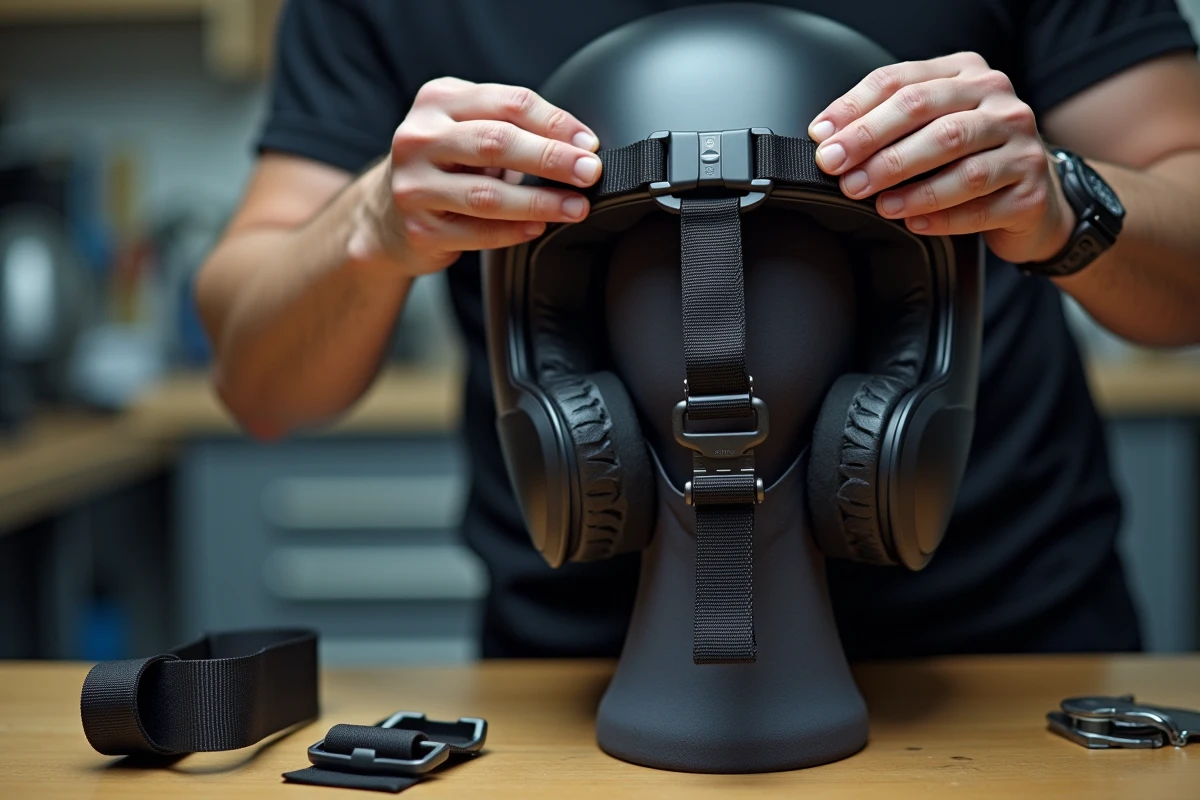
A chin strap that is too short or poorly positioned pulls the helmet down and increases pressure on the cheeks and chin. On helmets equipped with a micrometric buckle, a simple adjustment notch can make a difference.
For double D-ring systems, ensure that the strap lies flat under the jaw without twisting. A neoprene chin guard can also eliminate skin irritation that gives the feeling of tightness.
7. Check the shape compatibility between the skull and the shell
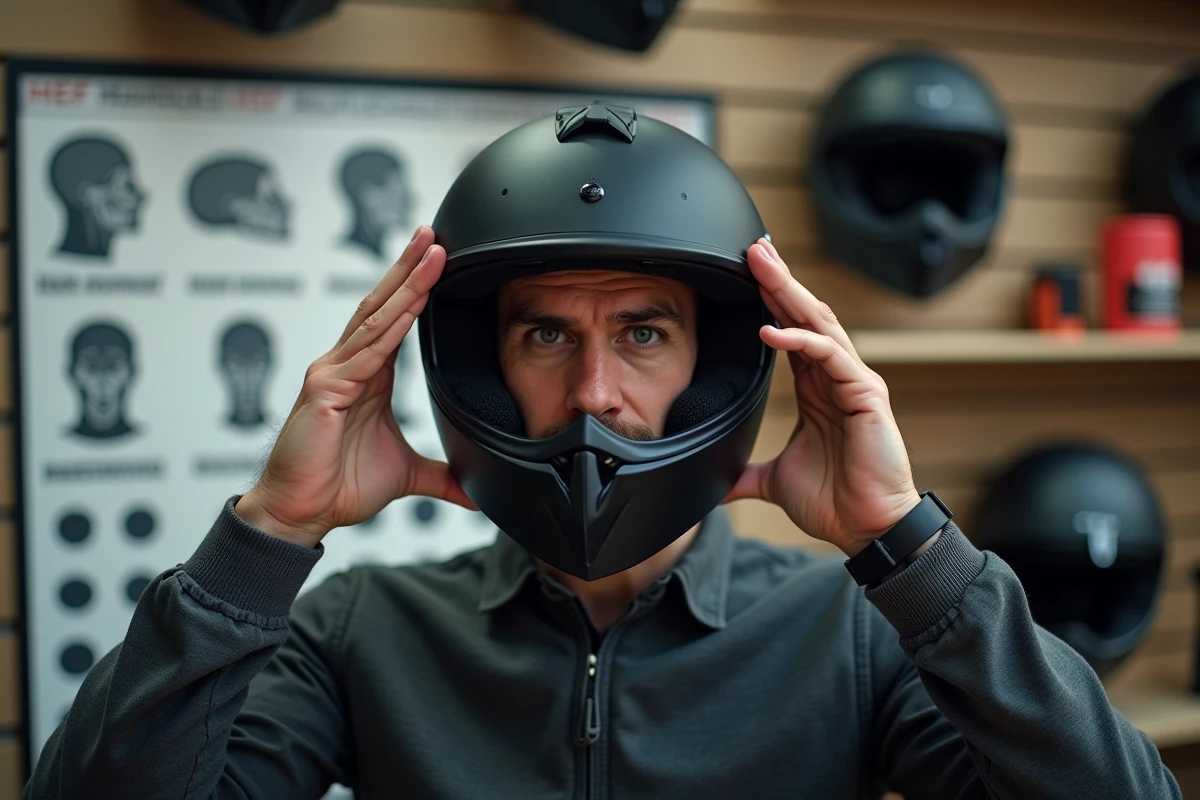
Not all helmets fit all skull shapes. Shells described as “round oval” (Arai, for example) are suitable for round heads, while other brands size in “intermediate oval” or “long oval”.
A helmet that is the right size but the wrong shape will always be uncomfortable, no matter the adjustments of the pads. Before investing in accessories, ensure that the shape of the shell matches your morphology.
8. Optimize ventilation to limit the feeling of pressure
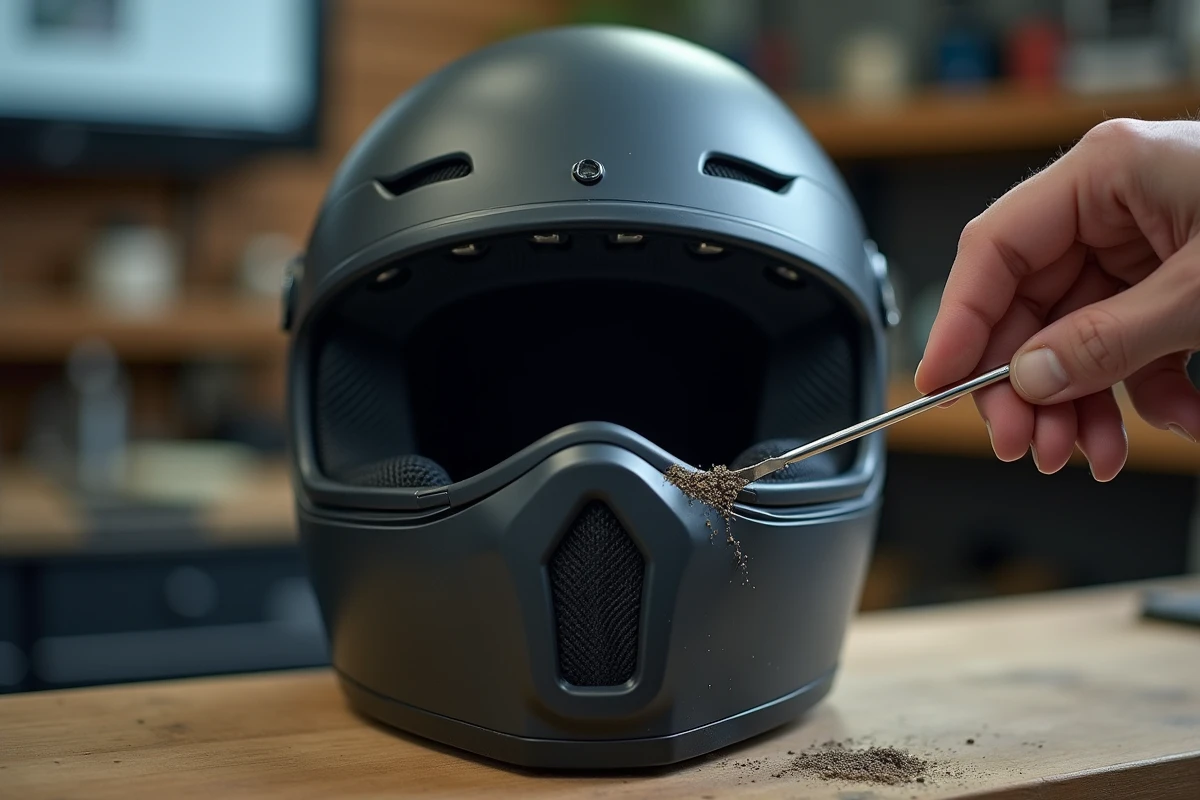
Heat amplifies the feeling of tightness. A helmet with closed or obstructed air intakes heats up quickly, the pads swell slightly with sweat, and comfort deteriorates.
Opening all vents in hot weather, wearing a thin technical fabric balaclava that wicks moisture, and regularly cleaning the internal ventilation channels are three simple actions that reduce this feeling of pressure.
- Front and chin vents: always open them above 20 °C
- Rear extractor: ensure it is not blocked by a neck warmer or jacket collar
- Technical balaclava: prefer a quick-drying fabric over cotton
9. Adjust the visor tightness to relieve frontal pressure
On some models, a poorly fixed visor or one with a too-stiff pivot mechanism exerts constant inward pressure at the forehead. Checking the proper engagement and lightly lubricating the pivots with silicone can relieve this tension.
If the helmet has a Pinlock visor, ensure that the seal does not deform the visor to the point of compressing the top of the field of vision. A few millimeters adjustment on the side pegs is sometimes enough to regain comfort.
10. Never modify the EPS liner of the helmet
This is the limit that should not be crossed. Sanding, digging, or cutting the EPS foam (the expanded polystyrene that absorbs impacts) to gain space may seem tempting, but this modification can invalidate the ECE 22.06 certification in the event of an accident investigation.
The technical report from FEMA on the application of the ECE 22.06 standard, published in December 2023, reminds us that the integrity of the EPS is a verifiable compliance criterion. If none of the nine previous tips resolve the issue, the helmet is simply not suited to the motorcyclist’s morphology, and replacing it remains the only reasonable option for safety on the road.